

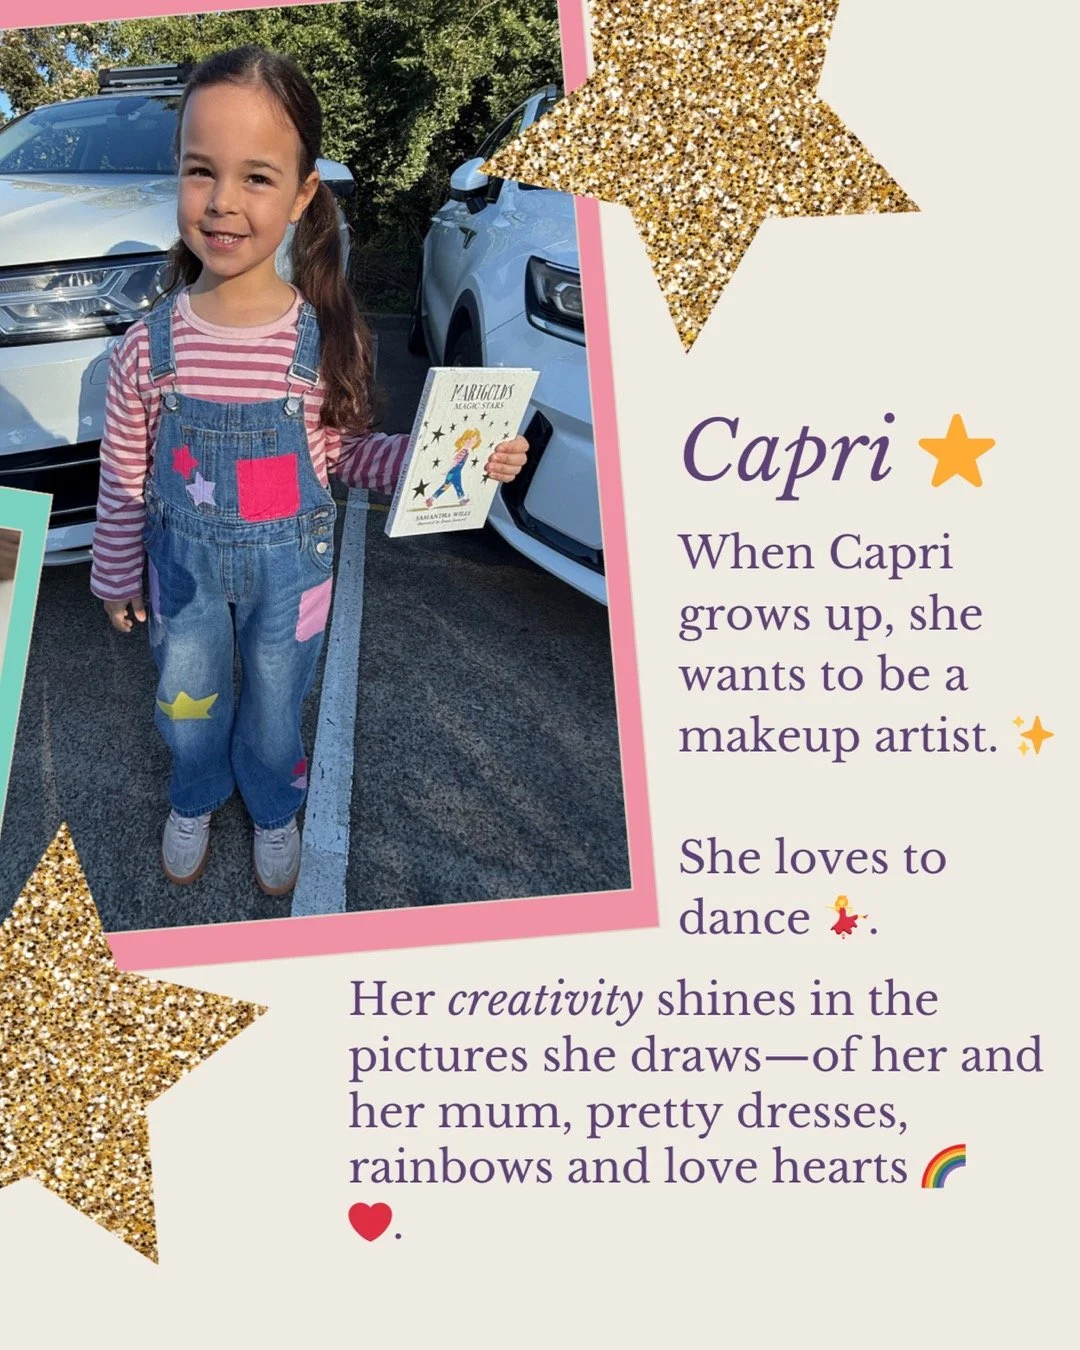
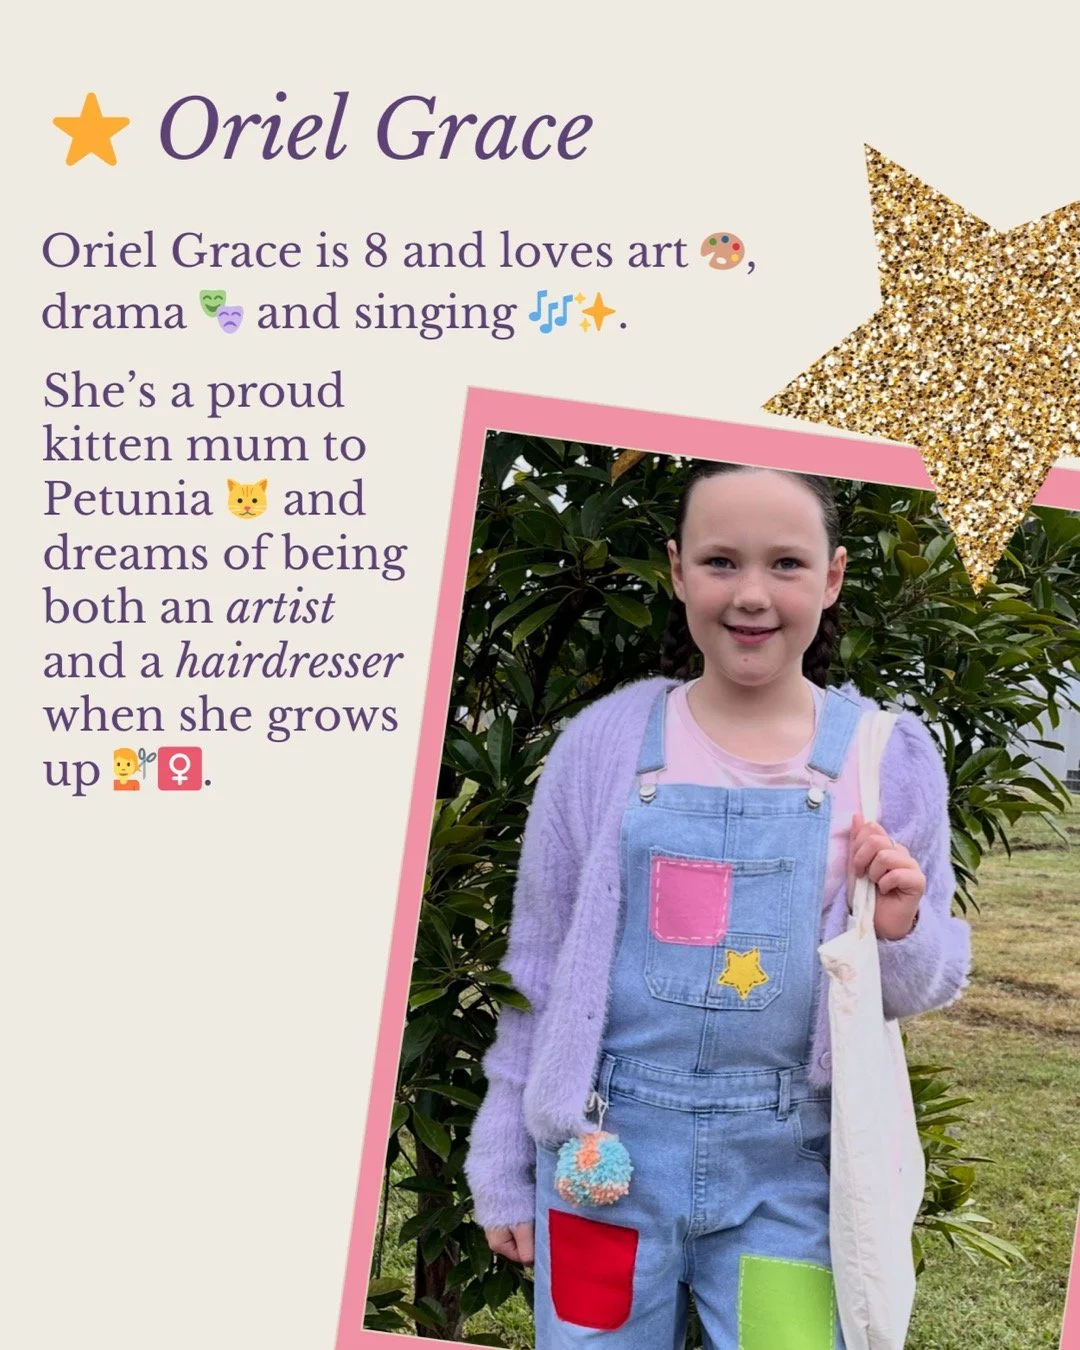
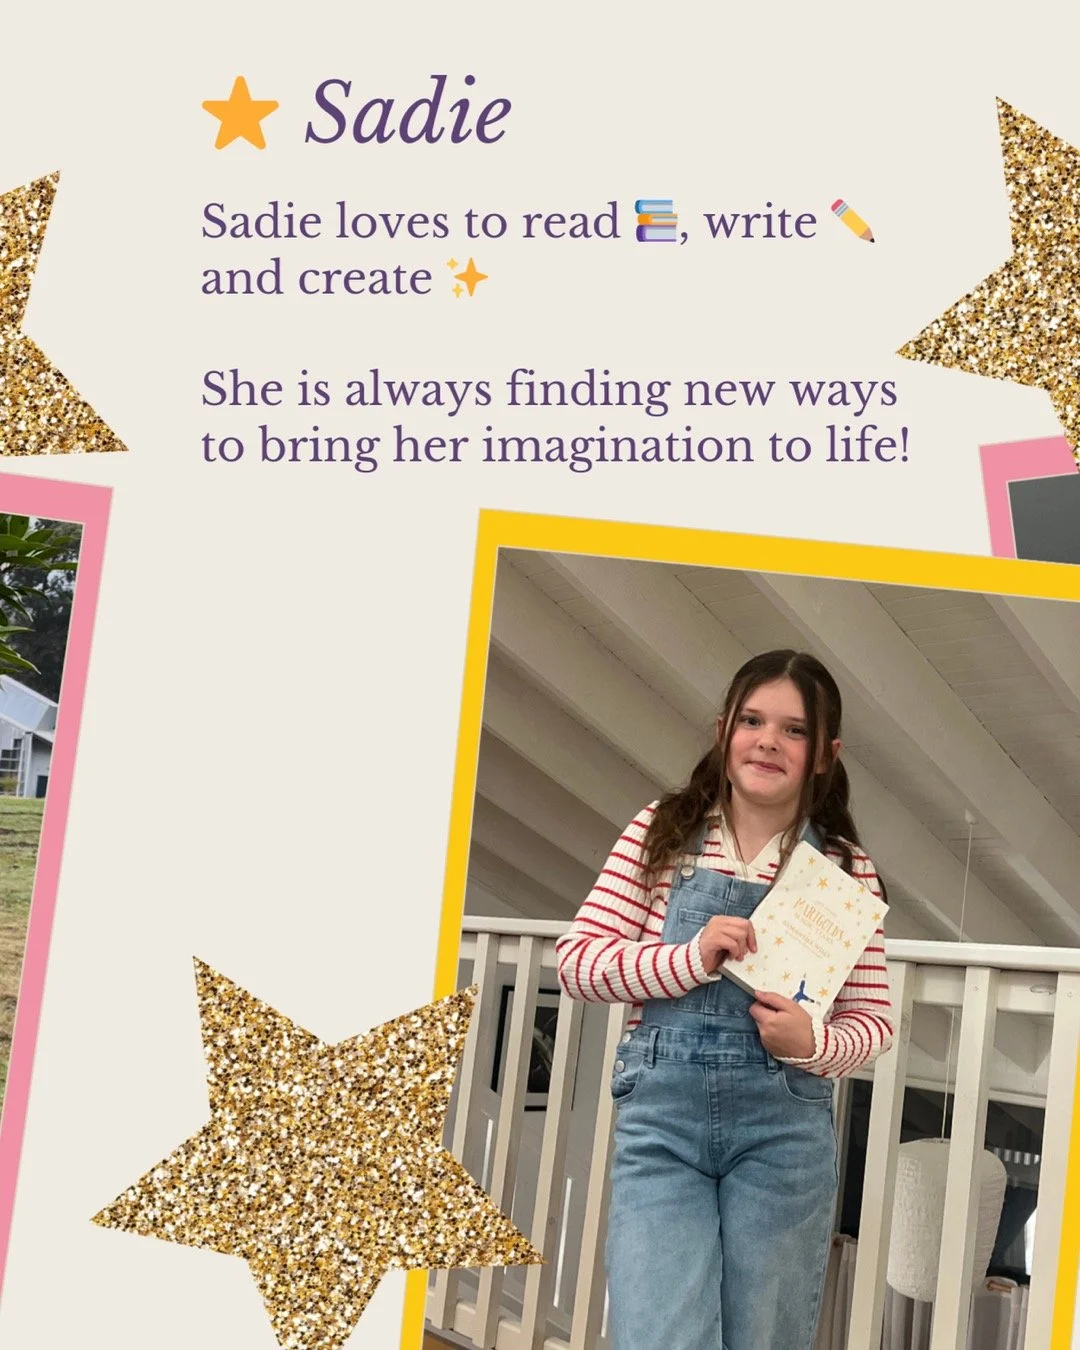
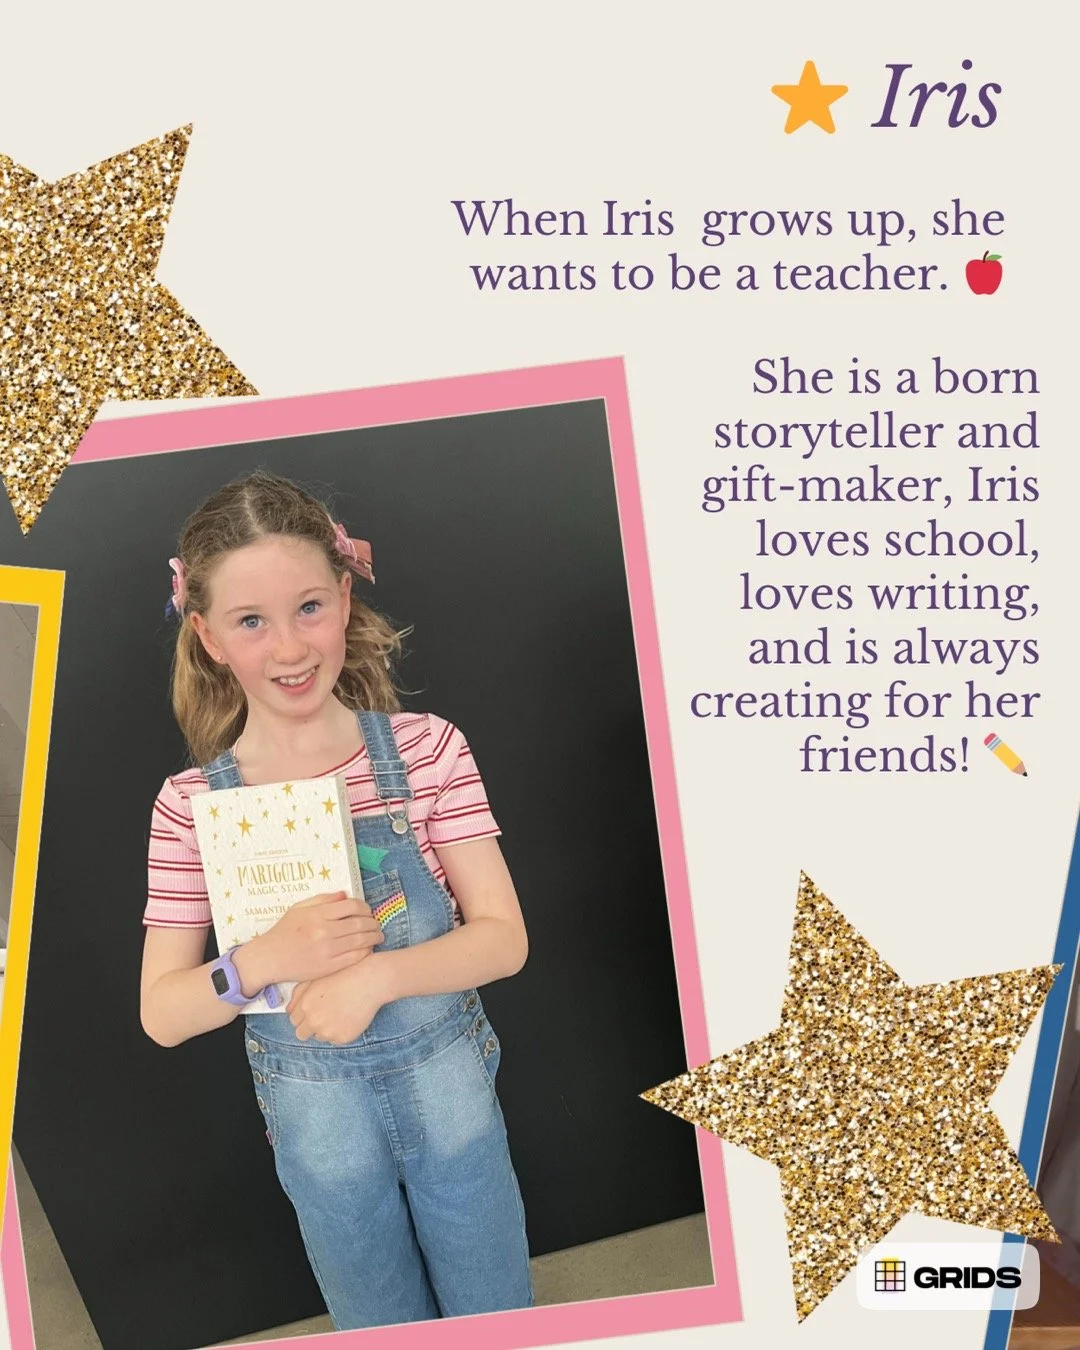
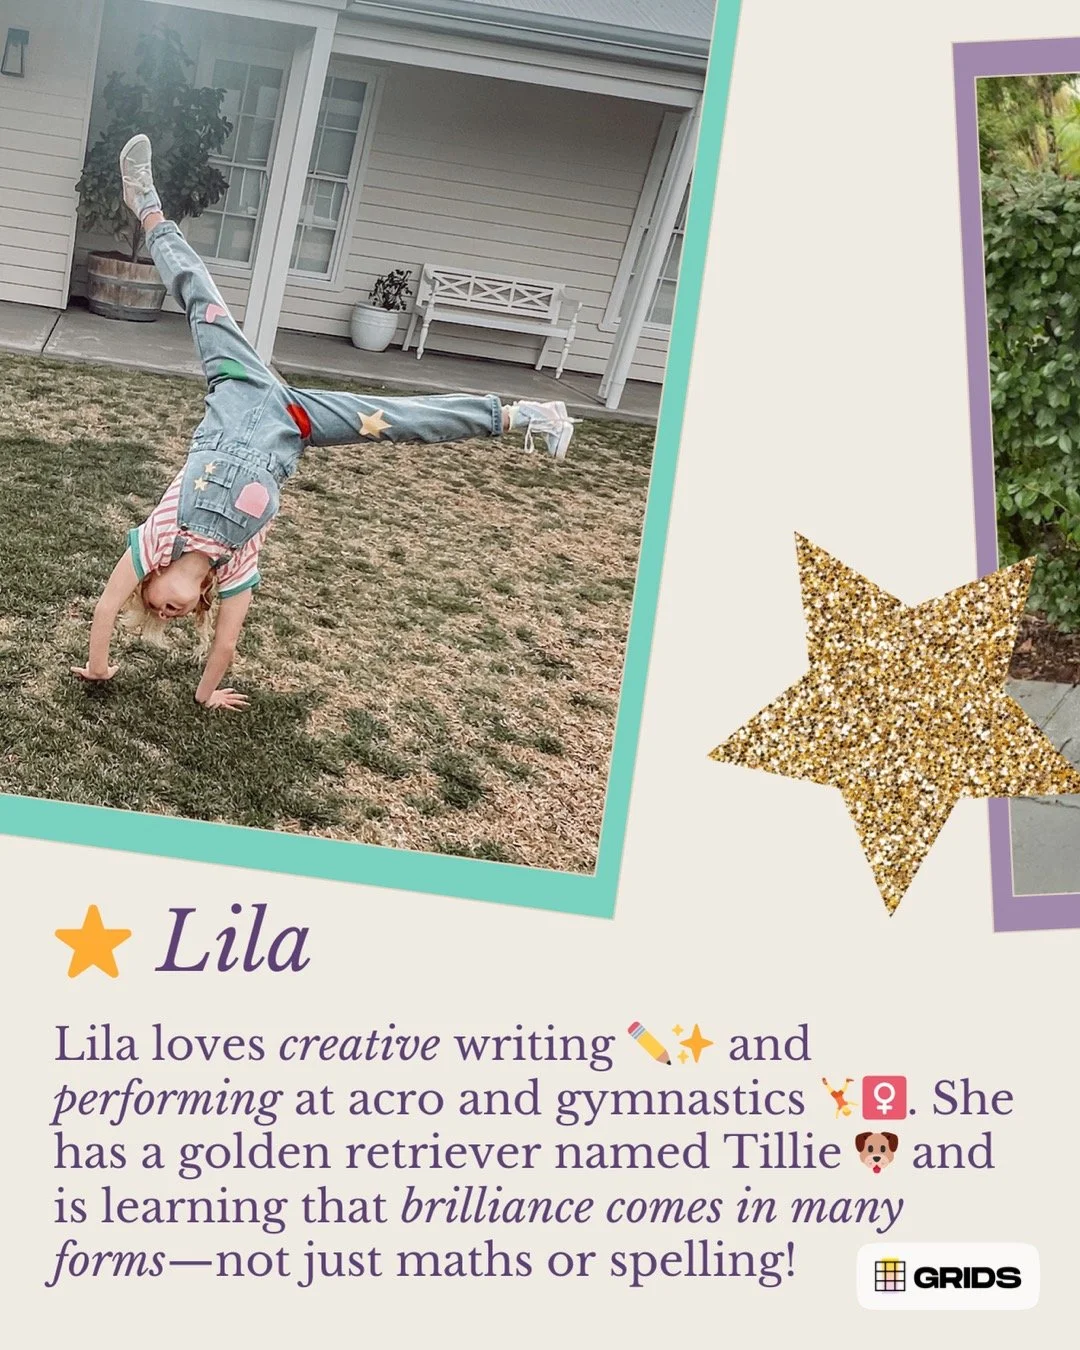
2025 Book Week Marigolds
We are overwhelmed (in the best way!) by all the little Marigolds who lit up Book Week this year ✨🌟💫
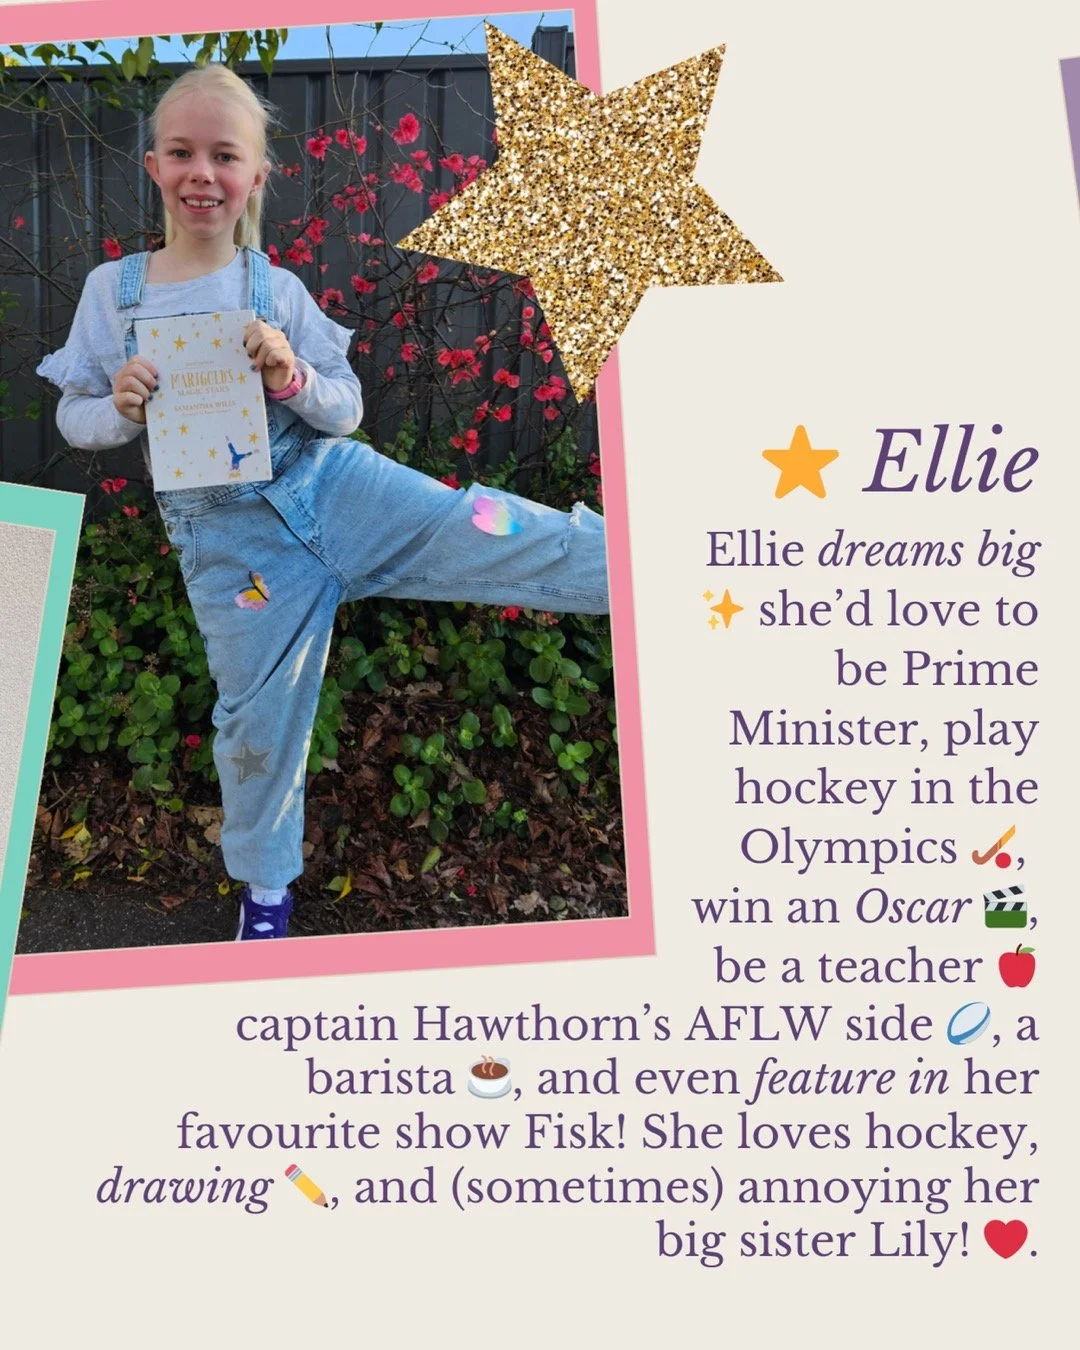
From hand-sewn patches and painted stars to rainbow socks and pink high-tops, your creativity has blown us away 🎨🧵🌈
Seeing so many children connect with Marigold’s story reminds us why this book was written: to celebrate every kind of creativity, and every kind of smart 📚⭐✏️
To every child (and their wonderful families) who dressed up, cut, glued, stitched, painted, and dreamed, you’ve inspired us more than you know 💛🌟
Your creativity is your superpower—trust your magic ✨💫⭐


Email is nice, but letters are better!: All the book week Marigold’s received a hand written letter from Marigold in the mail!

-
Hi, I’m Emily from House of Hobby. Let’s get crafty with a quick and easy Book Week costume for Marigold’s Magic Stars!
For the first part of this project, you’ll need:
– your iron-on transfer
– some fabric patches
– and a pair of scissors.We’re going to start by drawing our custom shapes onto the iron-on transfer. We’ve provided templates for you to use.
Next, cut those shapes out and iron them onto your fabric squares.
This stuff is seriously the best—it’ll be your best friend during this Book Week project.Once the shapes are ironed on, cut each one out. You now have a collection of custom little fabric patches!
Pop them aside—we’ll come back to them later in the project.Next up: pockets.
We’re shaping our fabric squares to look like mini pockets, and yes—your iron-on transfer is still your best friend (I wasn’t lying!).Now for the fun part—lay everything out.
Position your patches and pockets on the overalls however you like.
When you’re ready to secure them, peel off the backing from the transfer and iron them directly onto the overalls.Just a note: the iron-on transfer is temporary, so if you want anything to be permanent, grab your fabric glue or get out your needle and thread.
To stitch on a pocket, just use a basic running stitch.
Each one took me about five minutes.
I didn’t worry too much about perfect edges—it gives the outfit that handmade, patchworky look.And there you have it—your custom Marigold overalls!
Now, for the paint-striped tee.
You’ll need:
– a plain T-shirt
– acrylic paint
– fabric medium
– masking tapeOn the front of the shirt, use masking tape to map out where you want your stripes.
Mix up your paint—I used a soft pink with a dash of red, plus the fabric medium to help it set.
Then paint your stripes across the front. Once that’s dry, flip it over and do the back as well.
Let it dry for 24 to 48 hours.
Once dry, give it a good iron and peel off the tape.
Your T-shirt is ready to go!Next, socks and shoelaces.
You’ll need:
– white cotton socks
– white cotton shoelaces
– a couple of colours of Rit Dye
– salt (to help set the colour)Start by mixing the dye in a bucket using the instructions on the packet.
Add a little salt and boiling water, then give it a good stir to dissolve the dye fully.Pop in your socks and shoelaces.
Keep an eye on them—it doesn’t take long.
Once the colour’s looking great, rinse them out and let them air dry.That’s it!
Last step: star hair ties.
All you need is:
– thick elastic hair ties
– foam star shapes
– a trusty hot glue gunAdd a generous dollop of glue to the back of the star, then press the hair tie onto it.
Hold it in place for a minute until the glue sets—and you're done!And that’s your complete Marigold’s Magic Stars costume.
Fun, creative, and full of spark!
